
Many of us have observed stones that carry a light within them. It gives a gorgeous and captivating appearance. It’s fascinating to consider how well this form of lightning could be tied to numerous objects, such as wallpapers and stones.
It enhances the aesthetics of your residence, patios, driveway, and so on. Installing an outdoor lighting fixture on stone can be done in various ways. We’ll go over the various options and learn the easy installation techniques for outdoor light fixtures.
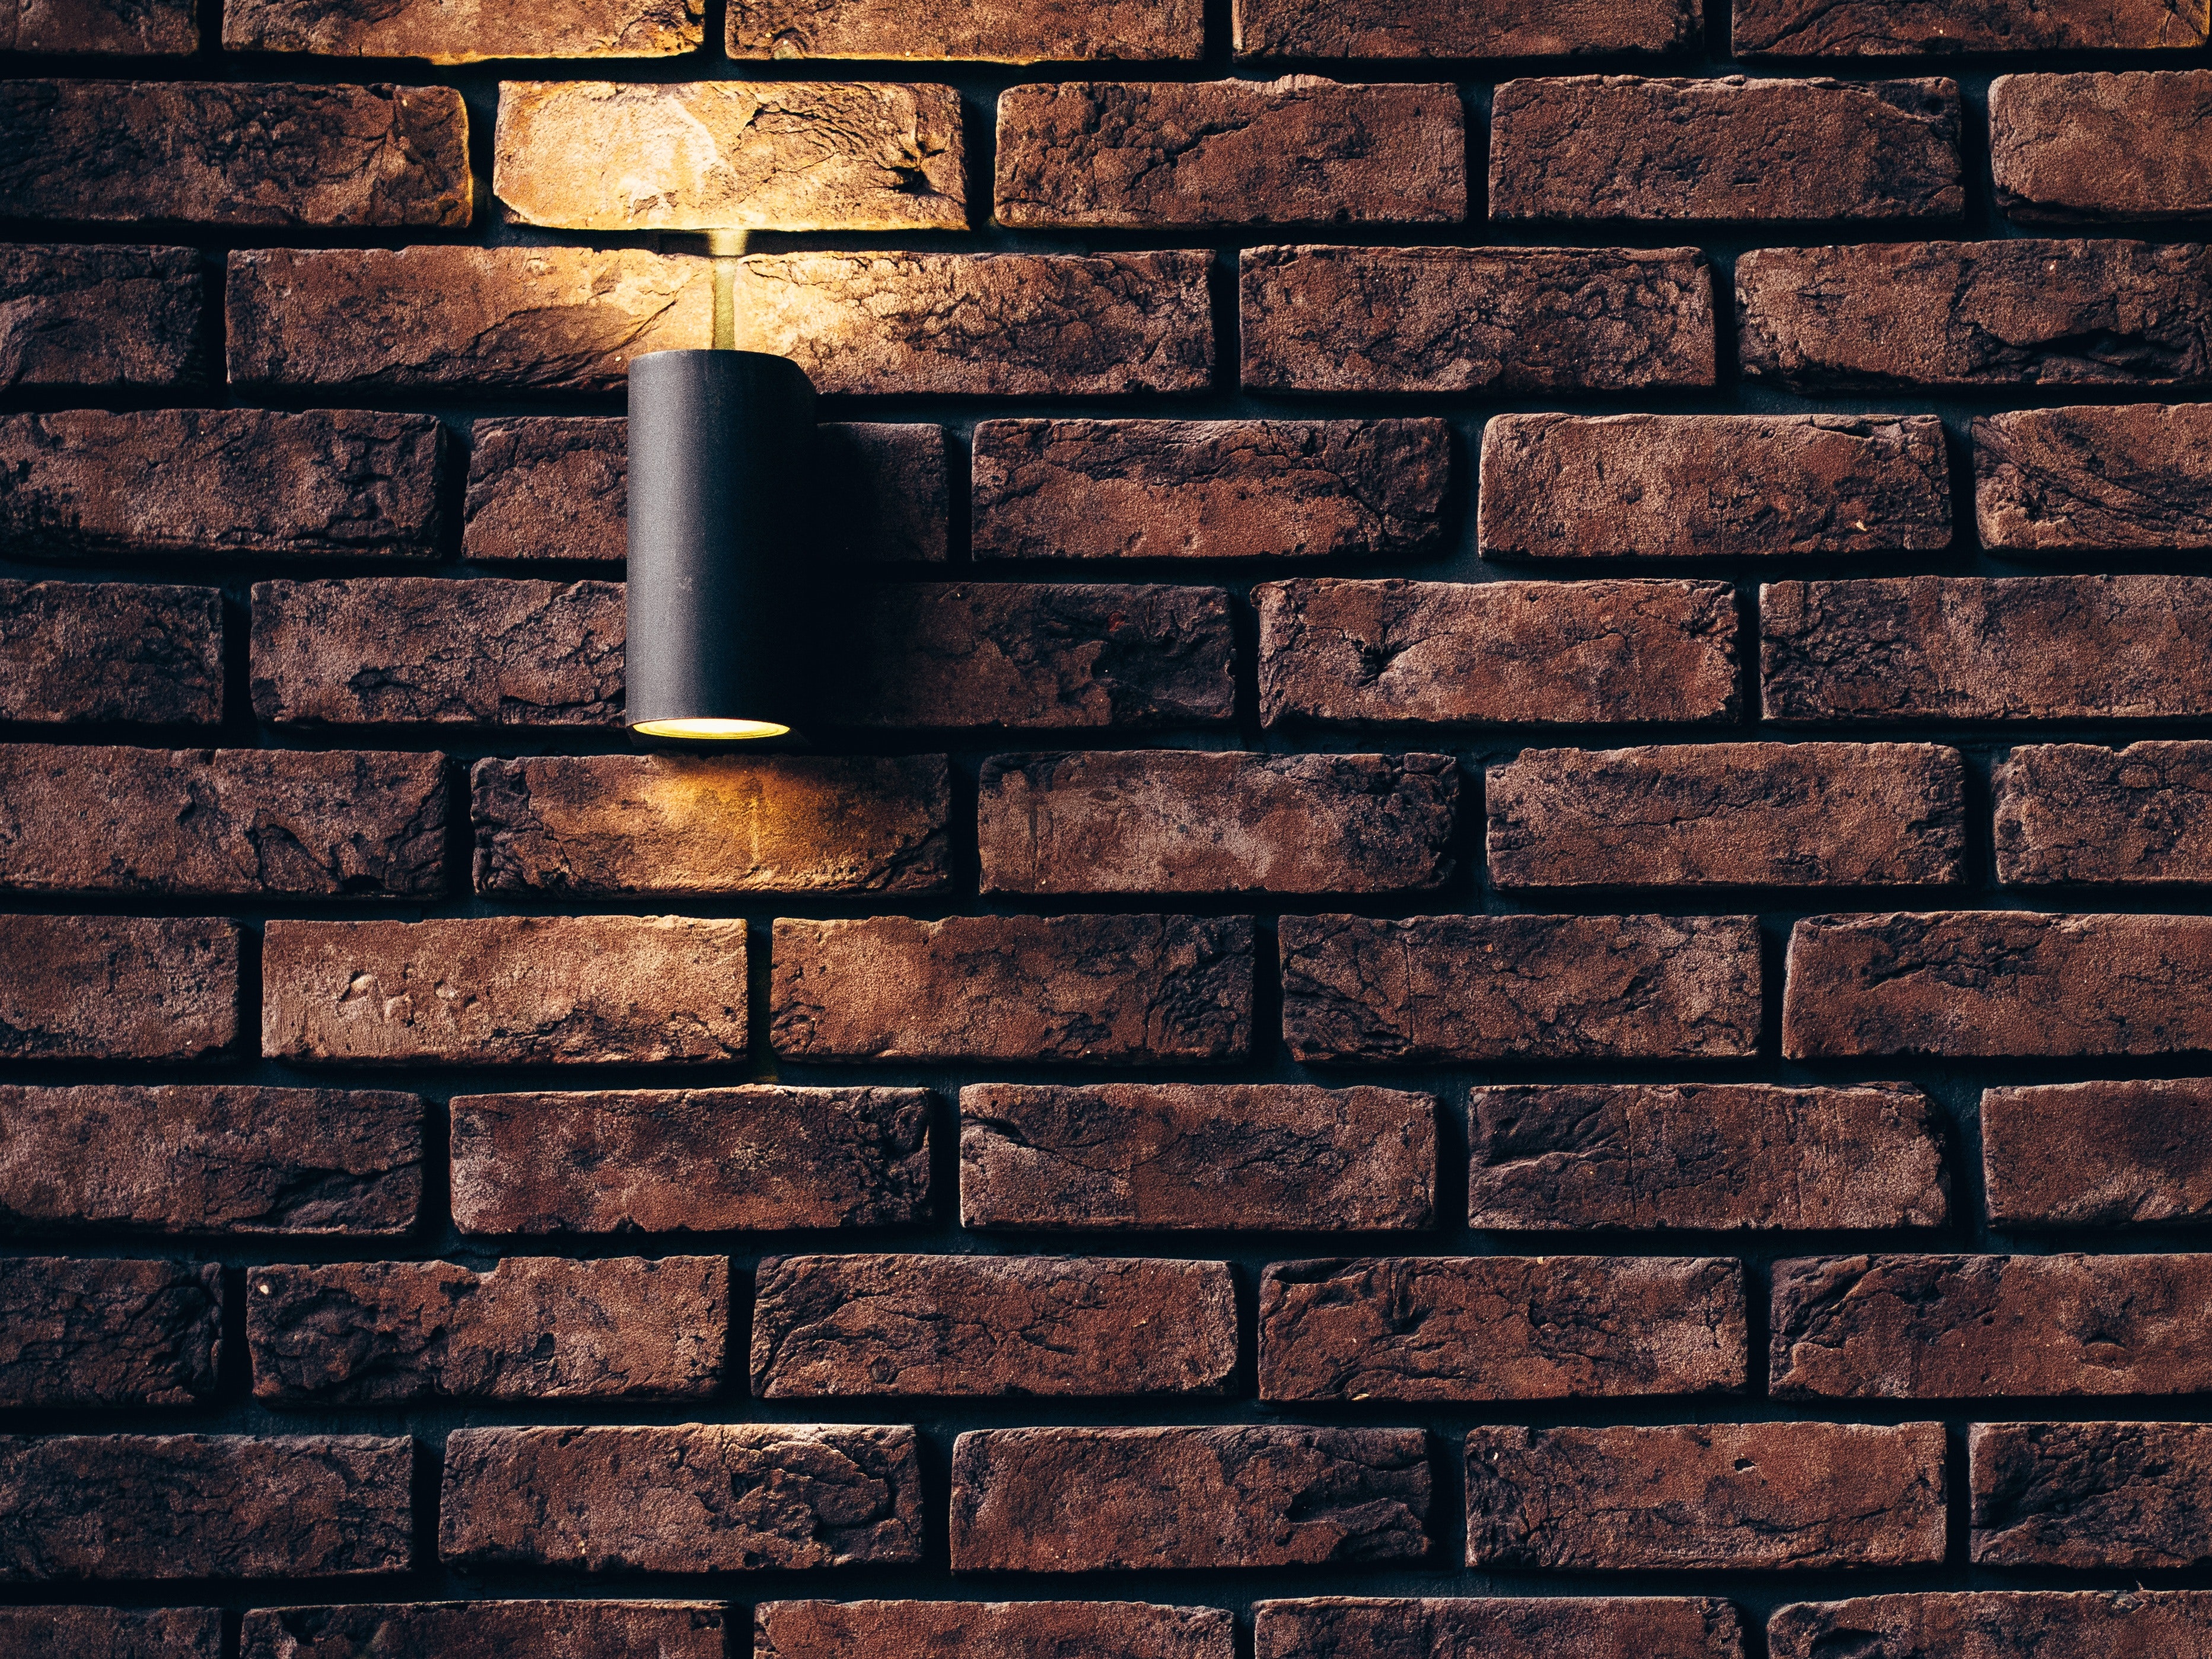
An Easy Guide on How to Install Outdoor Light Fixture on Stone
Picking the Right Light
Before you purchase a light, it is crucial to ensure that the light is durable and easily maintainable without the threat of breaking. For outdoor lighting, high-quality matters a lot as one light should last you for years.
Another significant factor to consider is the wattage of the light. The higher the wattage means higher chances of long-lasting durability. The lower the wattage equals less longevity.
Installation of the Fresh Bracket
If there’s already lighting installed on the stone, the primary job is to take them off and switch off the electricity to avoid shock. These lights come with two small screws on each side; you only have to pull them out from there and then install the bracket using two screws.
If the screws exceed the length of the drilled hole, you can shorten them by using a screw cutter. After that, mount the bracket using these screws and fix it securely with pliers.
Wire it up
With three types of wires, black, white, and ground wire, you will prioritize the ground wire first when you wire them all up. With the help of wire nuts, you catch the wires and ensure they are tightened up.
Using electrical tape, you will cover them. The electrical tape will keep the moisture far away from the wing nuts. Even for commercial outdoor lighting, it is necessary to do this step as the atmosphere keeps changing, and there’s always moisture or water outside that might enter inside it.
We’re now set to install it in place and double-check if our light is working before installing. If everything signals a green light, you may proceed to fix it in the mount and screw the caps on and make sure they’re securely fastened.
Add Sealant or Fillers
Fillers must be added only at the sides and the top of the cap but never below, i.e., the bottom side. Because whatever moisture or water collects in it, it’ll drain out through the bottom. Utilizing a small amount of silicon, you will fill out the top side and either side of the cap.
To give it a tidy look, don’t use an excessive amount of the sealant as it’ll be visible from both the top and sides.
Place the Sensor
The last thing left to do is to install a sensor. The sensor is aligned on the upper end of the lighting setup.The sensor detects the dimness of the environment and automatically switches on. By installing a sensor on your commercial outdoor lighting, you wouldn’t need a socket or an external plug to turn the lights on.
Conclusion
Outdoor lighting fixtures are a beautiful and aesthetic way to enhance the look of our gardens, houses, garages, or outside our businesses. At times, the only issue that arises is that this sort of lighting becomes the cause of fires and various electrical mishaps.
However, there’s nothing to sweat about if you know how to install outdoor light fixture on stone. Stone lighting installations look complicated, but it isn’t. Nevertheless, seeking assistance from a professional is always a safe and secure alternative you can take any time.
Also Read: Best Lighting Contractor in Chicago